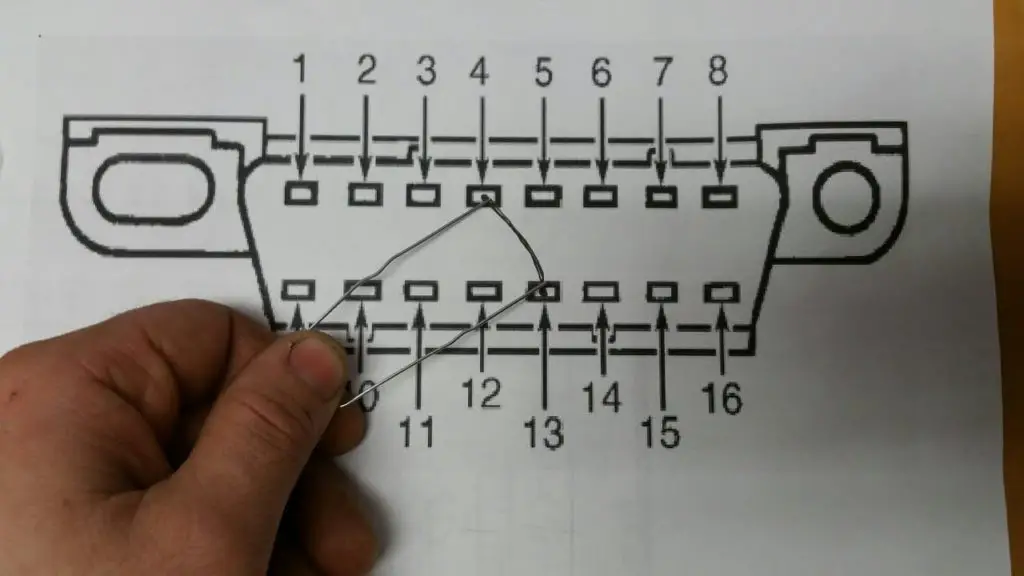
To jumper OBD2 Toyota, you will need to locate the Data Link Connector (DLC) near the driver’s side of the dashboard. Then use a paperclip or similar object to bridge pins 4 and 13 together. With the engine off, turn on your vehicle’s ignition switch and wait for a few moments before turning it back off again.
Repeat this process three times until all indicator lights on your dashboard appear. This should allow communication between your car’s ECU and OBD2 scanner so that you can diagnose any issues with your vehicle. If these steps do not work, then check whether there are any other specific instructions related to OBD2 jumpered in your particular model of Toyota as some models may require different procedures when it comes to jumpering an OBD2 port or DLC connector.
- Locate the OBD2 port on your Toyota vehicle
- This is usually located near the driver’s side dashboard and will be labeled “OBD-II” or “Diagnostic Link Connector”
- Insert a jumper wire into pins 4 & 13 of the OBD2 port
- Pin 4 is typically located at the top of the connector, while pin 13 is located at its lower right corner (as viewed from front of car)
- Turn the key in your ignition to the ‘on’ position but do not start engine yet
- This should activate all electrical components and allow you to diagnose any potential faults that may exist within these components via an OBD scanner tool connected to your vehicle’s OBD-II port via a jumper wire inserted between pins 4 & 13 as described above
- Use an OBD scanner tool to read diagnostic trouble codes (DTCs) from your vehicle’s ECU and then use this information to diagnose any issues with regards to emissions control systems or other related issues which may cause engine performance problems such as excessive fuel consumption, poor starting/idle etc
CARA SCAN ECU TOYOTA OBD 1 UNTUK MENGETAHUI DTC TROUBLE CODE PADA ECU MOBIL TOYOTA
How to Get Check Engine Light Codes Without Scanner Toyota Corolla
If your Toyota Corolla’s check engine light is illuminated, you can retrieve the diagnostic codes for free without using a scanner. All you need is a paper clip or wire to bridge terminals A and B of the OBD-II Data Link Connector, located underneath the dashboard on the driver side of your vehicle. The codes will then appear in sequence.
Make sure to write them down so that you can reference them later when looking up what they mean and how best to address any issues associated with them.
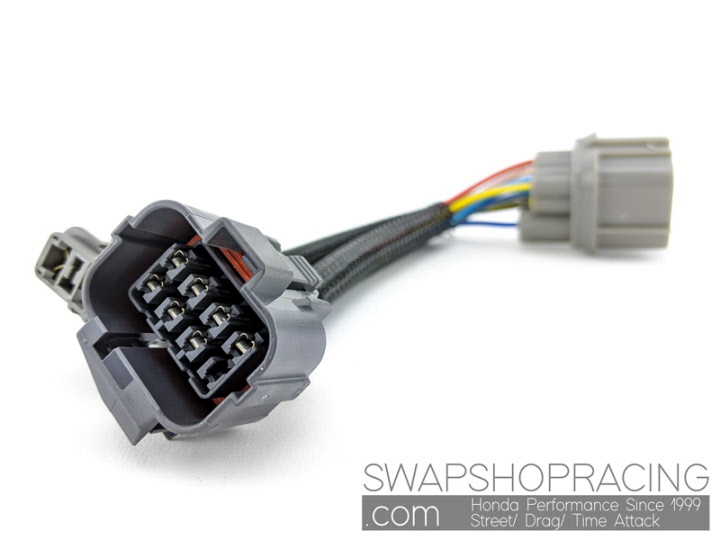
Credit: www.swapshopracing.com
Does Obd2 Work on Toyota?
OBD2 (On-Board Diagnostics) is a system that has been used in many Toyota motor vehicles since the early 1990s. The system uses an onboard computer to monitor and diagnose engine performance issues, allowing technicians to identify problems more quickly and accurately than ever before. OBD2 works on Toyota models by connecting the car’s computer system with diagnostic equipment through a standardized diagnostic connection port.
Using this connection, technicians can access data related to vehicle performance and faults, such as fuel consumption, emissions levels, and trouble codes. By analyzing this information, they are able to determine what needs repair or adjustment in order for your vehicle’s systems to function correctly. With OBD2 being so widely available in Toyotas today, it is easy for owners of these vehicles to take advantage of its convenience and accuracy when diagnosing their cars’ systems.
How Do You Read a Toyota Obd Ii Fault Code Without a Scanner?
You can read a Toyota OBD II fault code without a scanner, but it will require some work. To start, you should have an OBD II compatible scan tool that is capable of connecting to the vehicle’s diagnostic port. Once the connection is made, the scan tool will be able to access any stored trouble codes from the onboard computer system.
In addition to this, you may also need to purchase a special cable for your tool in order for it to properly connect with certain Toyota vehicles. After making all of these preparations, you can begin reading the codes by following instructions provided by your scan tool manufacturer or online resources like YouTube tutorials and forums discussing similar topics. You’ll first want to locate and open up your car’s diagnostic port which usually located under the dashboard on both sides or near where your left knee would rest while driving.
From here, follow any necessary steps needed to initiate communication between your device and the vehicle’s onboard computer systems so that you can retrieve and analyze any information stored within them such as engine performance data or fault codes related issues. Finally, if all goes well then you should be able view and interpret whatever issue(s) are causing problems with your car’s operation!
How Can I Check My Engine Code Without a Code Reader Toyota?
If you own a Toyota and want to check your engine code without a code reader, the first step is to locate the Diagnostic Link Connector (DLC), which can be found on most late-model vehicles. The DLC will have at least 16 pins arranged in two rows of 8. Once located, take out your multimeter or test light and attach it to each pin of the DLC until you find one that has power when key is turned on.
This pin is known as terminal 4 and should provide 12 volts when connected with the device’s ground connection point. Take note of this voltage reading as it can help diagnose any potential issues that may arise from your vehicle’s engine system. Then connect an OBDII scanner tool into terminal 4, turn on both devices and wait for them to communicate with each other.
After they are connected successfully, they should display a list of trouble codes related to your car’s engine system; these codes indicate specific problems within the system so make sure you read through all of them carefully before attempting any repairs yourself! Finally, write down all relevant fault codes and use online resources such as forums or websites dedicated to Toyota repair information in order to identify what exactly needs attention or replacement parts before proceeding with DIY repairs if necessary.
Can You Start a Car Through Obd2?
OBD2 (On-Board Diagnostics) is a technology that has revolutionized vehicle diagnostics and troubleshooting. OBD2 was developed as a way for mechanics to quickly diagnose issues with the engine, transmission, brakes, and other car systems. With OBD2, you can now start a car from the comfort of your own home or repair shop without having to use keys or even have access to an ignition system.
This means less time spent on repairs and more time enjoying the open road! So how exactly does it work? Starting a car through OBD2 involves connecting an appropriate diagnostic device directly into your vehicle’s onboard computer port which usually located near the steering wheel column.
Once connected, you will be able to read any trouble codes stored in the computer memory as well as resetting all warning lights that may be illuminated on your dashboard. You can also run tests such as checking fuel pressure levels or spark plug voltage readings in order to further diagnose why your engine is not running correctly. Finally, once all parameters are correct you’ll be able to start up your engine simply by pressing one button from within the diagnostic tool interface!
The whole process should take only minutes depending on what type of issue you’re dealing with but it certainly beats fiddling around trying to locate specific wires under the hood or manually jump starting a battery!
Conclusion
In conclusion, learning how to jumper OBD2 Toyota can be a daunting task for someone who is not familiar with the process. However, with the right tools and information, it is possible to safely and successfully jumper an OBD2 Toyota. Following the steps outlined in this blog post will help ensure that you are able to correctly jumper your vehicle without any issues or complications.
Ultimately, whether you’re a novice or a professional mechanic, understanding how to jump an OBD2 Toyota is essential for completing any repair job properly and efficiently.