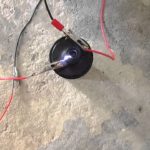
To test the stator of a motorcycle with a multimeter, first remove the stator cover and unscrew the three bolts that hold the stator in place. Next, disconnect the wires from the stator. Once the stator is removed, use the multimeter to test for continuity between the stator windings.
If there is no continuity, then the stator is defective and needs to be replaced.
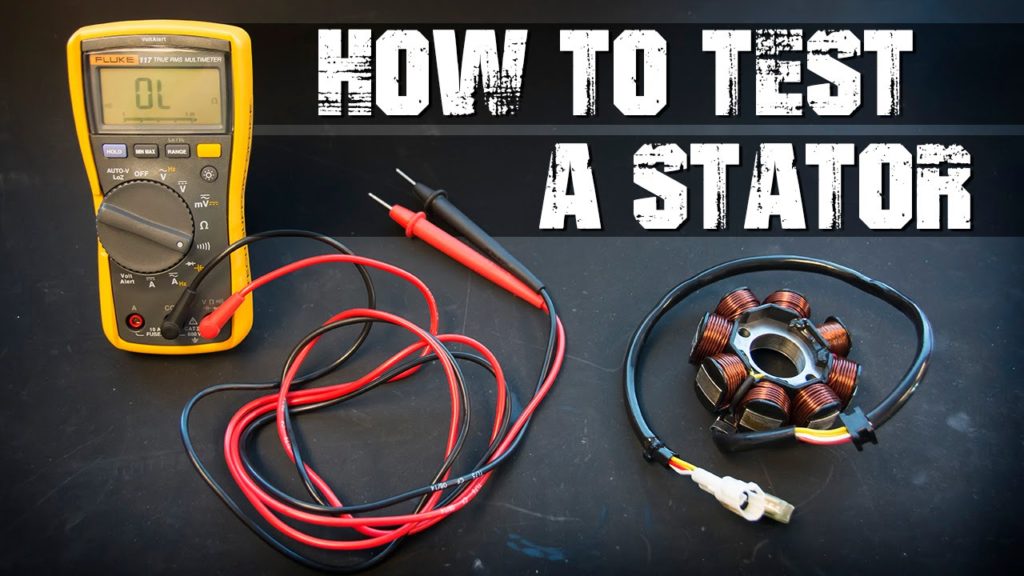
- To test the stator with a multimeter, first remove the stator cover and disconnect the wires from the stator
- Next, use a multimeter to test the resistance of each winding on the stator
- The resistance should be within a certain range for each winding
- If one of the windings has a significantly different resistance than the others, it is most likely damaged and will need to be replaced
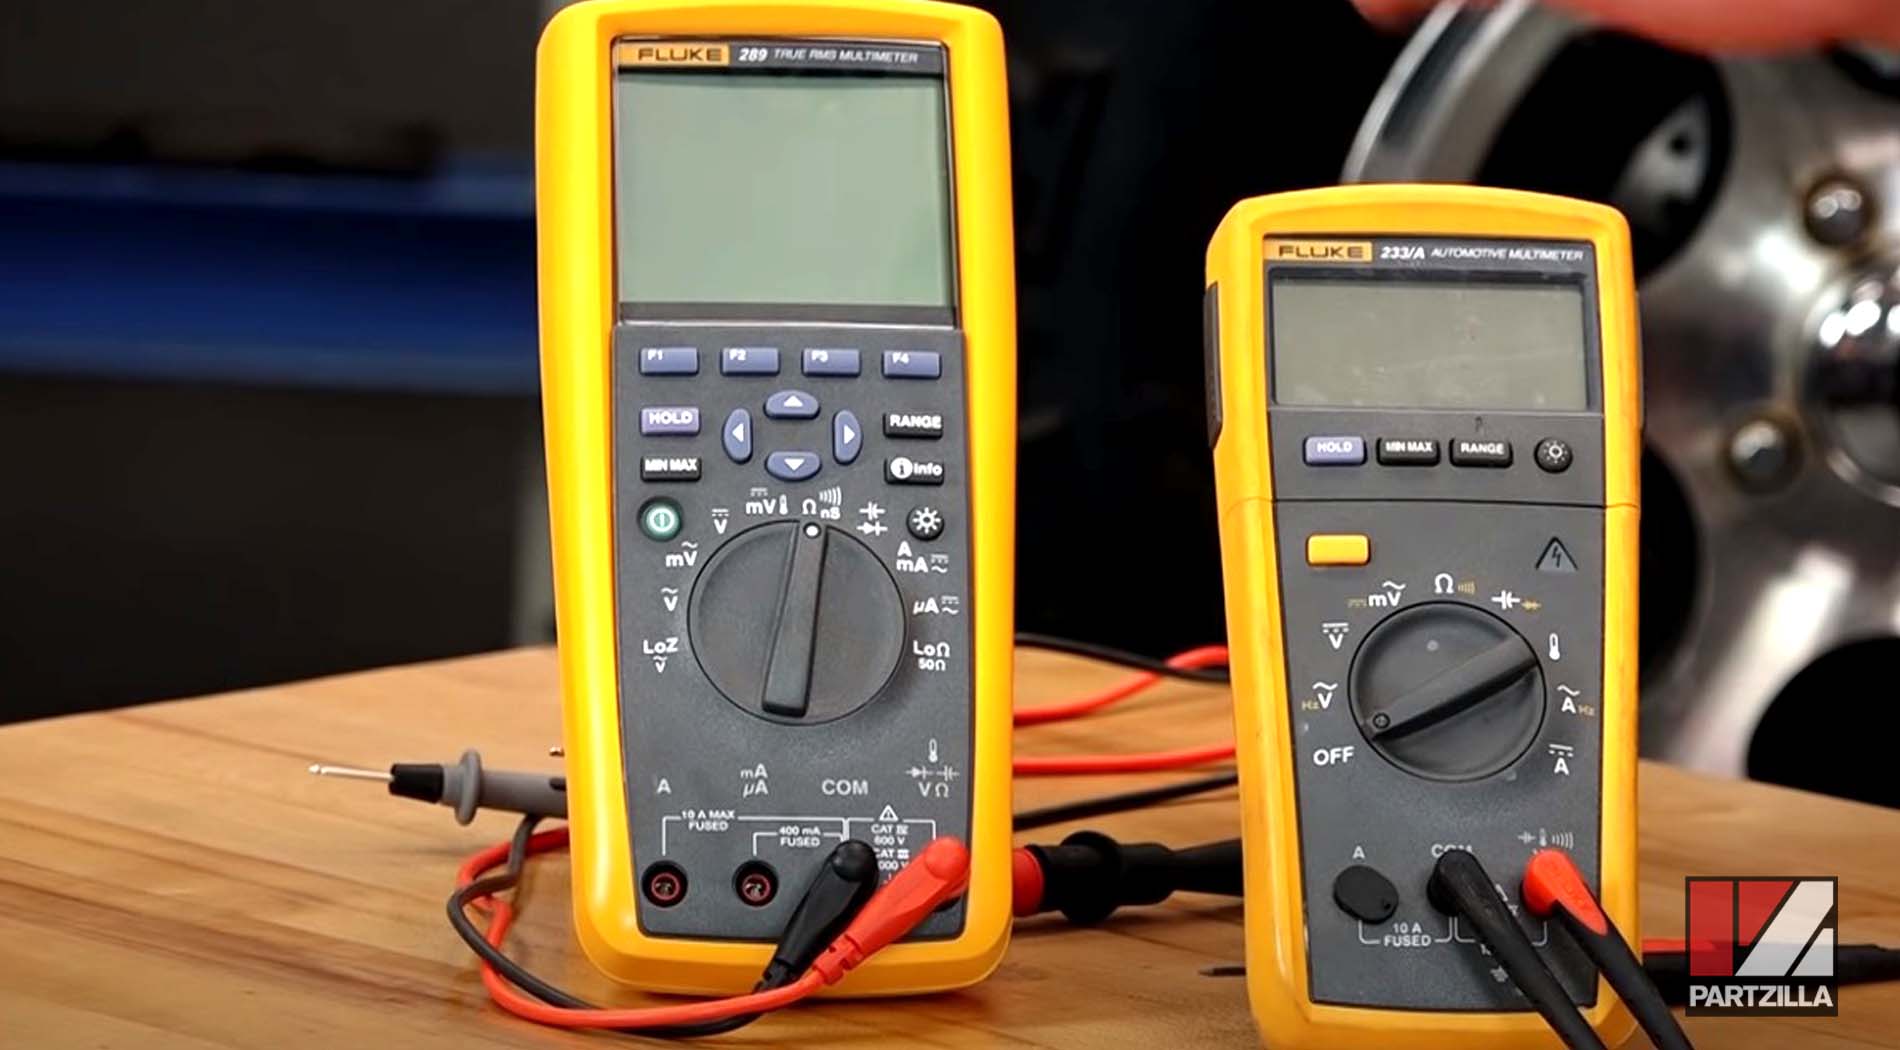
Credit: www.partzilla.com
How Do You Test a Motorcycle Stator With a Multimeter?
To test a motorcycle stator with a multimeter, you’ll need to remove the stator cover and take readings from the three wires coming from the stator. The best way to do this is to use an ohmmeter or continuity tester. With the ohmmeter, you’ll want to measure the resistance between each of the three wires.
You should see a low resistance reading (usually between 0.1 and 1 ohm) if the stator is good. If you see a high resistance reading, it means that there is an open circuit somewhere in the stator winding and it needs to be replaced. With a continuity tester, you’ll want to make sure that there is continuity between each of the three wires.
If there is no continuity, then that means there is an open circuit somewhere in the stator winding and it needs to be replaced.
Should a Stator Have Continuity to Ground?
There are a few different types of continuity tests that can be performed on a stator, but the most important one is continuity to ground. This test is used to determine if there is any current flowing through the stator windings and into the ground. If there is no continuity to ground, then the stator is not energized and no current will flow through it.
How Do You Test a 2 Coil Stator?
There are a few ways to test a two coil stator. The most common way is to use an ohmmeter. You will want to disconnect the stator from the power source, and then measure the resistance between the two coils.
If the resistance is within specifications, then the stator is likely good. Another way to test a two coil stator is with a multimeter. This method is similar to using an ohmmeter, but you will be measuring the voltage output of the stator instead of resistance.
Again, if the voltage output is within specifications, then the stator is likely good.
How Many Volts Should My Stator Put Out?
If your stator is putting out less than 50 volts, it needs to be replaced. The output of a stator should be between 125 and 250 volts.
How To Test A Trail Tech Stator
How to Test a 2 Wire Stator With a Multimeter
If you have a 2 wire stator, you can test it with a multimeter. First, set your multimeter to the ohms setting. Then, touch one lead of the multimeter to each of the stator’s wires.
If the reading on the multimeter is infinite, that means there is no connection between the stator’s wires and the leads of the multimeter, and thus the stator is bad.
Conclusion
If your motorcycle is having issues with the charging system, one of the first things you should check is the stator. The stator is responsible for generating electricity to charge the battery and power the lights. You can test it with a multimeter to see if it’s working properly.
To test the stator, you’ll need a multimeter set to Ohms. First, disconnect the stator from the bike. Then, touch one lead of the multimeter to each of the three wires coming from the stator.
If you get a reading of infinity, that means there’s an open circuit and the stator needs to be replaced. If you get a reading of zero, that means there’s a short circuit and the stator needs to be replaced. Anything in between those two readings means that the stator is working properly.