To test an ATV coil, use a multimeter to check for proper resistance and continuity. Ensure the coil is receiving the correct voltage.
Testing an ATV coil is essential for maintaining optimal performance and preventing breakdowns. A faulty coil can lead to engine misfires, poor acceleration, and starting issues. Regular testing helps identify potential problems early, ensuring your ATV runs smoothly. The process involves using a multimeter to measure resistance and continuity, ensuring the coil is functioning correctly.
This simple diagnostic tool can save you time and money by pinpointing issues before they escalate. Understanding how to test your ATV coil empowers you to perform basic maintenance, enhancing the longevity and reliability of your vehicle.
Introduction To Atv Coil Testing
The ATV coil is important for the engine. It helps create the spark. This spark starts the engine. Without the coil, the ATV will not run. The coil converts power from the battery. This power turns into a spark. This spark ignites the fuel in the engine. A good coil means a smooth ride. A bad coil means the ATV will have problems.
A faulty coil can make the engine misfire. The ATV might not start. There could be power loss while riding. The engine might stall suddenly. There can be backfiring and poor fuel economy. Check the coil if you see these signs. Fixing the coil can make your ATV run well again.
Safety First: Preparing For The Test
Ensuring your ATV coil functions properly involves a few straightforward steps. Begin by disconnecting the coil and checking resistance with a multimeter. Proper testing guarantees safe and efficient performance.
Essential Safety Gear
Always wear protective gloves and safety goggles. These will keep your hands and eyes safe. Use a long-sleeve shirt to protect your arms. Closed-toe shoes are a must to protect your feet. Wear a helmet if the ATV might move. Keep a fire extinguisher nearby just in case. Ensure your workspace is well-ventilated to avoid breathing in fumes. Ear protection is useful if the ATV is loud.
Pre-test Atv Inspection
Check that the ATV is turned off and cool to the touch. Ensure the ignition key is removed to prevent starting. Look for loose wires and fix them. Check for any leaks and address them. Make sure the battery is disconnected. Inspect the spark plug for dirt or damage. Confirm that the coil is accessible and easy to reach.
Tools Required For Coil Testing
A multimeter is very important for testing an ATV coil. Choose a digital multimeter for better accuracy. Make sure it can measure resistance and voltage. A clamp meter can also help but is not necessary. Always have fresh batteries in your multimeter.
You also need some basic tools. A screwdriver is needed to remove the coil. Have pliers for gripping and holding parts. Safety gloves protect your hands from shocks. Manuals for your ATV can guide you. A workbench gives a stable surface to work on.
Locating The Atv Coil
Locate the ATV coil near the engine, typically under the seat or near the frame. This vital component ensures your ATV’s ignition system functions correctly.
Understanding Atv Coil Placement
ATV coils are usually close to the engine. Look for a small, cylindrical object with wires. These coils are often black or silver in color. They play a key role in the ignition system. The coil transforms low voltage into high voltage. This high voltage is needed to create a spark in the engine.
Accessing The Coil
First, ensure the ATV is turned off and cool. Locate the coil by following the spark plug wire. The wire connects directly to the coil. Remove any covers or panels blocking access. Use basic tools like screwdrivers or wrenches. Be gentle to avoid damaging any parts. Now, the coil is ready for testing.
Visual Inspection Of The Atv Coil
Inspecting the ATV coil visually involves checking for physical damage, corrosion, or cracks. Ensure all connections are secure and wires are intact. This preliminary step helps identify obvious issues before conducting further electrical tests.
Identifying Physical Damage
Check the ATV coil for cracks and burn marks. These signs can indicate serious damage. Look for broken wires or loose parts. Any physical damage might mean the coil needs replacement.
Checking For Corrosion And Loose Connections
Inspect the coil for corrosion on the terminals. Corrosion can affect performance. Make sure all connections are tight and secure. Loose connections can cause the coil to malfunction. Clean any rust or dirt from the terminals.

Credit: atvconnection.com
Conducting The Resistance Test
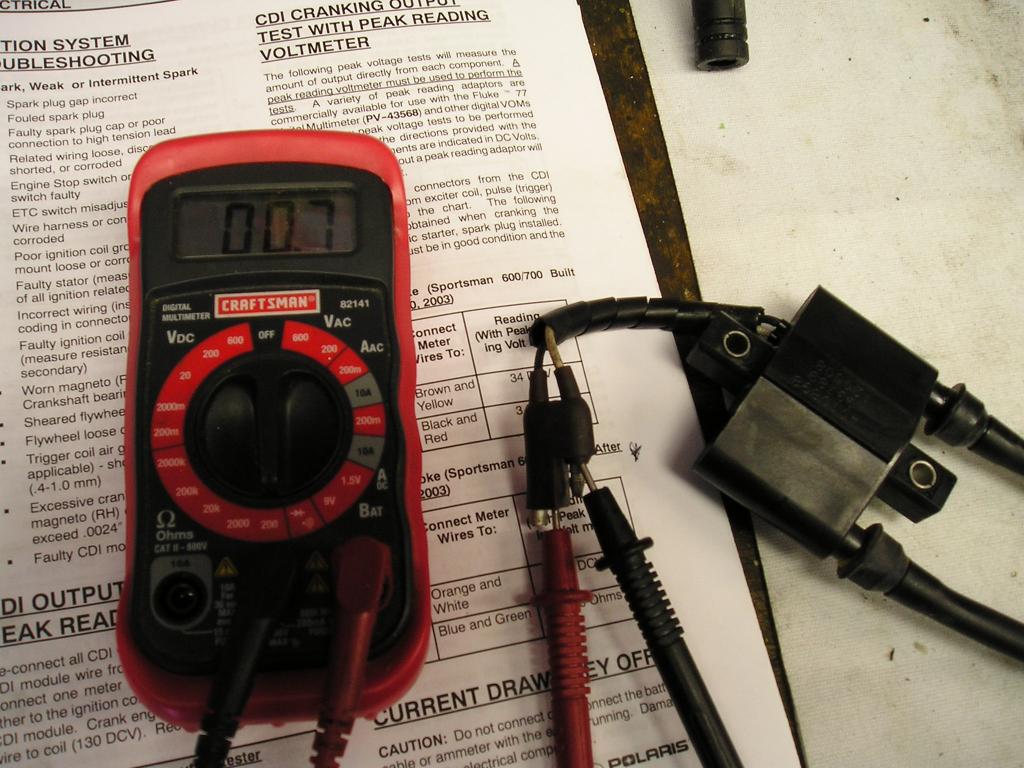
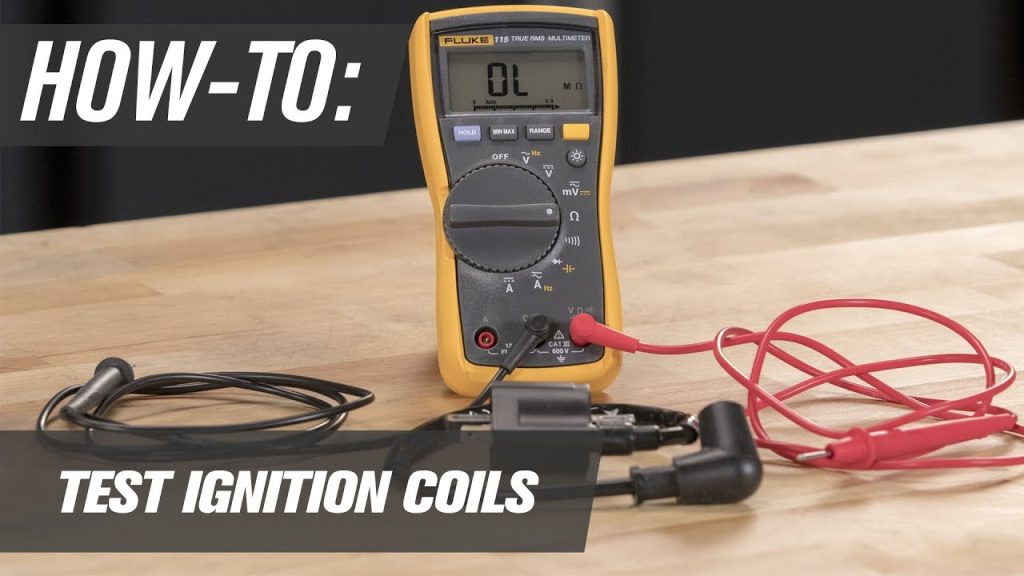
First, get your multimeter ready. Set it to the ohms setting. This helps to measure resistance. Attach the black lead to the common port. Attach the red lead to the ohms port. Make sure the multimeter is working well. Touch the leads together. The reading should be zero or very close.
Check the primary windings first. Connect the leads to the small terminals on the coil. The reading should be low, around 0.5 to 2 ohms. Next, check the secondary windings. Connect one lead to a small terminal and the other to the spark plug wire terminal. The reading should be higher, around 5,000 to 15,000 ohms.
Spark Test Procedure
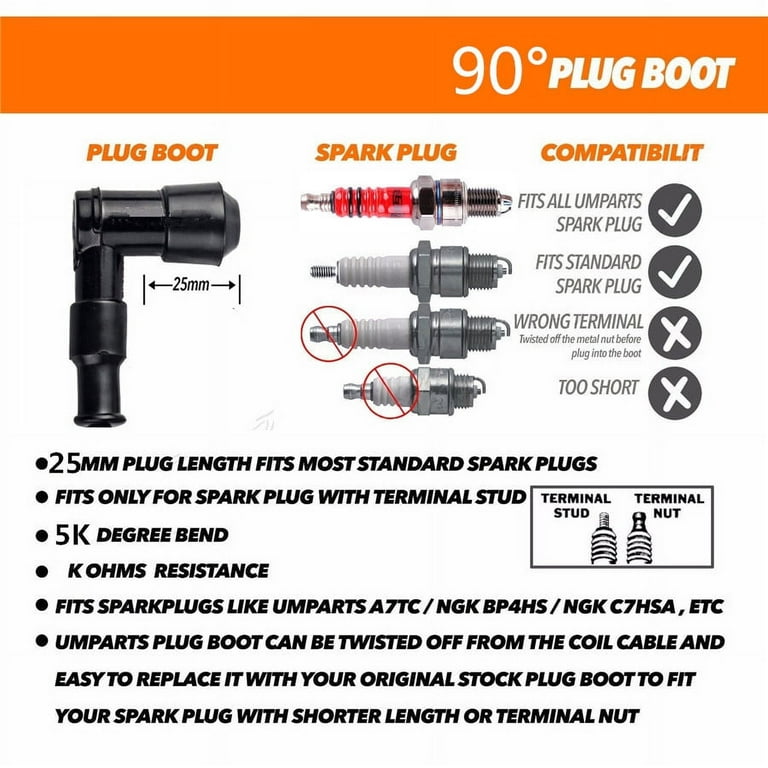
Gather all the necessary tools. You will need a spark tester, a wrench, and safety gloves. Disconnect the spark plug wire from the spark plug. Attach the spark tester to the spark plug wire. Make sure the tester is grounded properly to the engine. Turn the ignition on but do not start the engine. Observe the tester for a visible spark.
A strong, blue spark indicates a healthy coil. A weak or no spark means the coil may be faulty. Check the connections and repeat the test. If there is still no spark, consider replacing the coil.

Credit: www.walmart.com
Analyzing Test Results
Use a multimeter to measure the coil’s resistance. Connect the probes to the coil’s terminals. Readings should match the manufacturer’s specifications. If the readings are too high or too low, the coil might be faulty.
Normal resistance values are usually between 0.2 and 5 ohms. Any significant deviation indicates a problem. Double-check the connections to ensure accuracy. If the readings remain off, consider replacing the coil.
Replace the coil if it shows inconsistent resistance. Frequent misfires and engine starting issues are signs. Poor performance can also indicate a bad coil. Ensure no visible damage on the coil or wires.
Consistent performance issues often lead to coil replacement. New coils ensure the ATV runs smoothly. Always follow manufacturer guidelines for replacements. Timely replacements prevent further damage.
Preventive Maintenance Tips
Regular checks are vital for keeping your ATV coil in good shape. Inspect the coil for any visible damage like cracks or corrosion. Clean the coil using a soft cloth to remove dirt and debris. Check the connections to ensure they are tight and free from rust. Use a multimeter to test the coil’s resistance. Follow the manufacturer’s guidelines for specific resistance values. Replace the coil if the readings are off. Keep a log of your inspections to track any changes over time.
Store your ATV in a dry place to prevent moisture damage. Avoid exposing the coil to extreme temperatures. Use protective covers to shield the coil from dirt and water. Check the coil after every ride, especially in muddy conditions. Use high-quality fuel to prevent build-up on the coil. Consult a professional for any issues you can’t solve. Regular maintenance helps in extending the life of your coil. Always use genuine parts for replacements.

Credit: m.youtube.com
Troubleshooting Common Issues
Intermittent coil failures can be tricky. Check for loose connections first. Sometimes, a simple fix can solve the problem. Examine the coil’s wiring for any signs of damage. Look for cracks or fraying in the wires. Replace damaged wires immediately to avoid further issues.
Inspect the coil’s housing for any cracks. A cracked housing can let moisture in. Moisture can cause the coil to fail intermittently. Use a multimeter to check the coil’s resistance. Compare the readings with the manufacturer’s specifications. If the readings are off, consider replacing the coil.
Recurring problems often indicate a deeper issue. Ensure the coil is properly grounded. A bad ground connection can cause many problems. Clean the ground connections to ensure good contact. Use dielectric grease to prevent future corrosion.
Check the ATV’s battery voltage. Low voltage can affect coil performance. Charge or replace the battery if needed. Inspect the spark plug connected to the coil. A worn spark plug can cause misfires. Replace the spark plug if it looks damaged or worn out.
Conclusion: Ensuring Reliable Atv Performance
First, inspect the coil visually. Look for any signs of wear or damage. Second, use a multimeter to test the coil’s resistance. This helps to check if the coil is functioning properly. Third, perform a spark test. This ensures that the coil can produce a strong spark. Finally, replace the coil if it fails any of these tests. Following these steps ensures your ATV runs smoothly.
Coils can wear out over time. Regular checks are essential. A faulty coil can cause engine problems. It may lead to poor performance or even engine failure. Timely maintenance saves money. It prevents costly repairs down the line. Ensuring the coil’s health keeps your ATV reliable and safe. Always keep your ATV in top shape.
Frequently Asked Questions
How Do You Test An Atv Coil With A Multimeter?
Set the multimeter to the ohms setting. Measure primary coil resistance between terminals. Measure secondary coil resistance between the terminal and spark plug cap. Compare readings with manufacturer specifications.
How Do You Check If A Coil Is Bad?
To check if a coil is bad, use a multimeter to test its resistance. Compare readings with manufacturer specifications. Look for signs like misfires, engine stalling, or poor fuel economy. Visually inspect for cracks, burns, or corrosion.
Can You Test A Coil Pack With A Multimeter?
Yes, you can test a coil pack with a multimeter. Measure resistance between primary and secondary terminals. Compare readings with manufacturer specifications.
How Many Volts To An Atv Ignition Coil?
An ATV ignition coil typically requires 12 volts from the battery. This voltage enables the coil to generate the high voltage needed for spark plugs.
Conclusion
Testing an ATV coil ensures peak performance and safety. Follow the steps outlined for accurate results. Regular maintenance can prevent unexpected breakdowns. Always use proper tools and safety precautions. Understanding your ATV’s coil health can extend its lifespan and improve ride quality.
Happy and safe riding!


