Assuming you have already replaced the head gasket:
1. Fill the radiator with coolant and bleed the system if necessary.
2. Reconnect all of the hoses and wiring that were disconnected during repair.
3. Install a new thermostat and gasket.
4. Fill the engine with oil and check for leaks.
5. Connect the battery, then start the engine and let it idle until it reaches operating temperature.
- Make sure the engine is cool before starting any repair work
- Remove the radiator cap and fill the radiator with a 50/50 mixture of water and coolant
- Inspect all hoses and clamps for leaks and replace as necessary
- Install a new thermostat and gasket making sure that it is seated properly
- Fill the engine with fresh oil and install a new oil filter
- Reconnect the negative battery cable
Common Problems After Head Gasket Replacement
If you’ve had a head gasket replacement, it’s likely that your car is running better than it was before. However, there are some common problems that can occur after this type of repair. Here are a few things to watch out for:
1. Coolant leaks. It’s not uncommon for coolant to leak from the engine after a head gasket replacement. This is usually due to a faulty radiator cap or an incorrect installation of the new gasket.
Be sure to check your coolant level regularly and top off as needed.
2. Oil leaks. Another common issue is oil leaks.
These can be caused by loose bolts or an incorrect installation of the new gasket. Be sure to check your oil level regularly and add more if needed.
3. Overheating engine.
An overheating engine is another potential problem after a head gasket replacement. This can be caused by a number of factors, including a leaking radiator, an airlock in the cooling system, or a faulty thermostat .
If your engine starts to overheat, be sure to pull over and turn off the engine as soon as possible to avoid damage .
4 . Burning oil smell .
Credit: www.thedrive.com
How Long Does It Take for a Head Gasket to Set?
It takes anywhere from 20 minutes to an hour for a head gasket to set. The time it takes depends on the type of gasket, the temperature and humidity of the room, and how well you follow the instructions.
How Long Does It Take for Head Gasket Seal to Work?
A head gasket sealant is a temporary fix and is not meant as a long-term solution. It can take anywhere from a few hours to a few days for the sealant to work. The amount of time it takes for the sealant to work will depend on the size of the leak and how much sealant you are using.
Why is My Car Still Overheating After Replacing Head Gasket?
If your car is still overheating after replacing the head gasket, there are a few possible explanations. First, make sure that the radiator is properly filled with coolant and that there are no leaks in the system. If the radiator is low on coolant or has a leak, this can cause the engine to overheat.
Another possibility is that the thermostat is not working correctly. The thermostat controls how much coolant flows into the engine, so if it’s stuck open, coolant will continue to flow even when the engine doesn’t need it and this can cause overheating. Finally, it’s possible that there is something wrong with the water pump.
The water pump circulates coolant through the engine, so if it’s not working properly, the engine will overheat. If you’ve checked all of these things and your car is still overheating, you may need to take it to a mechanic for further diagnosis.
Do I Need to Replace My Engine If I Have a Blown Head Gasket?
If you have a blown head gasket, you will need to replace your engine. A blown head gasket can cause your engine to overheat and seize up, which can lead to serious engine damage.
Startup after Head Gasket Replacement!
Conclusion
A head gasket repair can be a daunting task, but it is something that you can do yourself if you are prepared. The first thing you need to do is disconnect the negative battery cable. This will prevent any sparks from occurring while you are working on the engine.
Once the negative battery cable is disconnected, remove the radiator cap and drain the coolant into a container. Be sure to wear gloves and eye protection when doing this. Next, locate the thermostat housing and disconnect the hoses leading to it.
Remove the bolts holding the housing in place and carefully remove it from the engine. Take out the old thermostat and replace it with a new one. Make sure that all of the gaskets and seals are in good condition before putting everything back together.
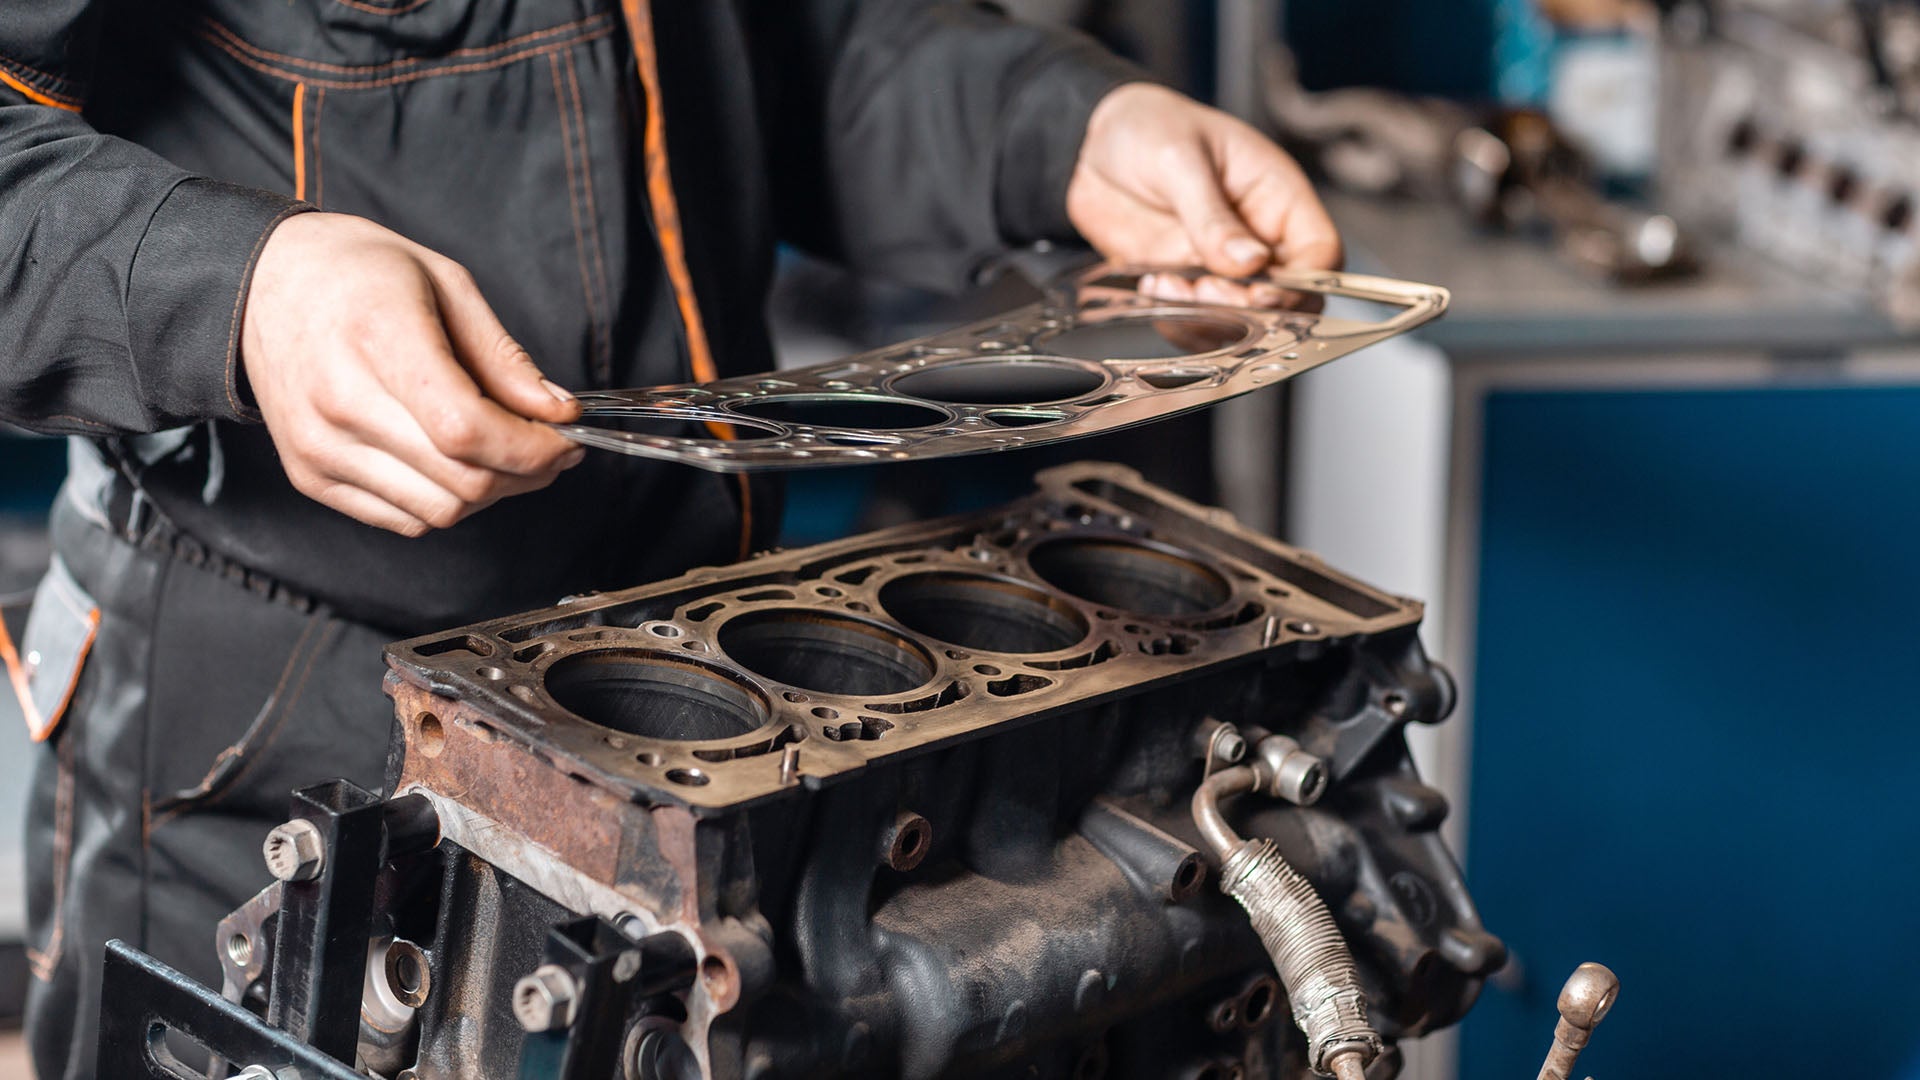
Now, it’s time to start working on the head gasket itself. Start by removing all of the bolts around the perimeter of the cylinder head using an impact wrench or socket set. Carefully lift off the cylinder head and set it aside in a safe place.
Inspect your work so far to make sure that there is no debris or damage left behind before proceeding.