Opening an oil cap might seem like a straightforward task, but it can become surprisingly tricky in certain situations. Whether it’s stuck due to grime, over-tightening, or an unfamiliar locking mechanism, knowing how to open an oil cap safely and efficiently is essential for vehicle maintenance.
In this guide, we’ll show you step-by-step instructions and handy tips to ensure you can access your engine’s oil compartment with ease.
Tools You May Need
-
Rubber gloves for a better grip
-
A rag or cloth to protect your hand
-
Pliers or an oil filter wrench (for extra leverage if needed)
-
Lubricant spray (such as WD-40) for stuck caps
Step-by-Step Guide to Opening an Oil Cap
1. Locate the Oil Cap
Start by locating the oil cap under your vehicle’s hood. It’s usually marked with an oil can symbol and is often located on top of the engine or near the oil filler neck.
2. Ensure the Engine is Cool
Always let the engine cool down before attempting to open the oil cap. A hot engine can cause burns and make the cap harder to remove due to heat expansion.
3. Use Your Hands First
With the engine cool, try turning the cap counterclockwise using your hands. Rubber gloves can help provide a better grip if the cap is slippery or stuck.
4. Apply a Lubricant Spray
If the cap doesn’t budge, spray a small amount of lubricant around its edges. Allow it to sit for a few minutes to loosen any dirt or grime causing the cap to stick.
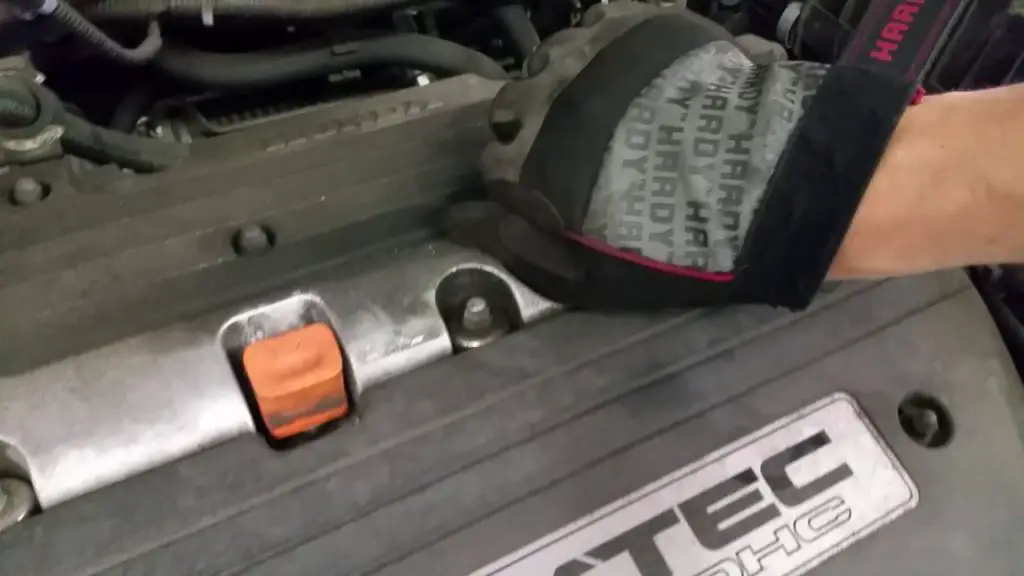
5. Use a Rag or Cloth for Extra Grip
Place a rag or cloth over the cap and try turning it again. The added friction can make a big difference in getting a stubborn cap to move.
6. Try Pliers or an Oil Filter Wrench
If the cap is still stuck, use pliers or an oil filter wrench for additional leverage. Be careful not to apply too much force, as this can damage the cap or the surrounding area.
7. Check for Locking Mechanisms
Some vehicles have oil caps with special locking mechanisms. Refer to your vehicle’s manual for specific instructions if the cap won’t turn or lift off easily.
Preventing Future Issues with Your Oil Cap
To avoid future difficulties, consider these tips:
-
Avoid Over-Tightening: Tighten the cap until it’s secure but not overly tight.
-
Keep the Area Clean: Regularly wipe the area around the oil cap to prevent dirt buildup.
-
Inspect the Cap: Check for cracks or wear on the oil cap’s threads and replace it if necessary.
When to Seek Professional Help
If you’ve tried all these methods and the oil cap still won’t open, it’s best to consult a professional mechanic. They can safely remove the cap without causing damage to your engine or surrounding components.

Credit: allgoodnogood.blogspot.com
Why Knowing How to Open an Oil Cap Matters
Regularly checking and maintaining your vehicle’s oil level is crucial for keeping the engine running smoothly. Without access to the oil cap, topping off or changing your oil becomes impossible, potentially leading to engine damage. By understanding how to handle a stuck or stubborn oil cap, you can save time and avoid unnecessary frustration.
Common Reasons an Oil Cap May Be Difficult to Open or Stuck
-
Over-Tightening: Often, oil caps are tightened too much after a refill, making them hard to remove.
-
Dirt and Debris: Dust or grime buildup around the cap can cause it to stick.
-
Heat Expansion: Engine heat can cause the cap’s material to expand, creating a tighter seal.
-
Unfamiliar Design: Some vehicles have oil caps with unique mechanisms that require specific steps to open.
What Happens If You Leave the Oil Filler Cap Off?
Leaving the oil filler cap off of your vehicle can cause a number of problems. First, it can allow dirt and debris to enter the engine, which can lead to clogged oil passages and decreased lubrication. This can cause increased wear on engine components and potentially lead to engine failure.
Additionally, leaving the oil filler cap off can allow water and other contaminants to enter the oil, which can degrade its quality and performance. If you notice that your oil level is low, be sure to check the filler cap before adding more oil.
How Do You Remove an Engine Cap?
Assuming you are referring to the engine oil cap, the process is fairly simple.
First, make sure the vehicle is parked on a level surface and the engine is cool to the touch.
Next, locate the oil cap on top of the engine – it will likely have a symbol of an oil can next to it.
Once you’ve found it, use a wrench or socket to unscrew it until it’s loose enough to remove by hand. Be careful not to over-tighten when screwing it back on.
Should There Be Pressure When Removing Oil Cap?
If your car has an oil pressure gauge, you should check it periodically to make sure the needle is in the normal range. If it isn’t, there may be a problem with your engine’s oil pump or bearings. You can also check your car’s owner’s manual to see if there is a specific procedure for checking the oil pressure.
Removing the oil cap when the engine is hot can be dangerous because hot oil can splash out and burn you. If you do need to remove the oil cap while the engine is hot, use a rag to protect your hand from heat.
Removing A Stuck Oil Cap!
Final Thoughts
Knowing how to open an oil cap is a small but essential skill for any car owner. By following the steps in this guide, you’ll be prepared to handle any stubborn cap with confidence. Regular maintenance and careful handling will ensure your oil cap remains functional, making it easier to keep your vehicle in top condition.
Share this guide with friends or bookmark it for future reference—because mastering the basics of car maintenance starts with simple yet vital tasks like opening an oil cap!