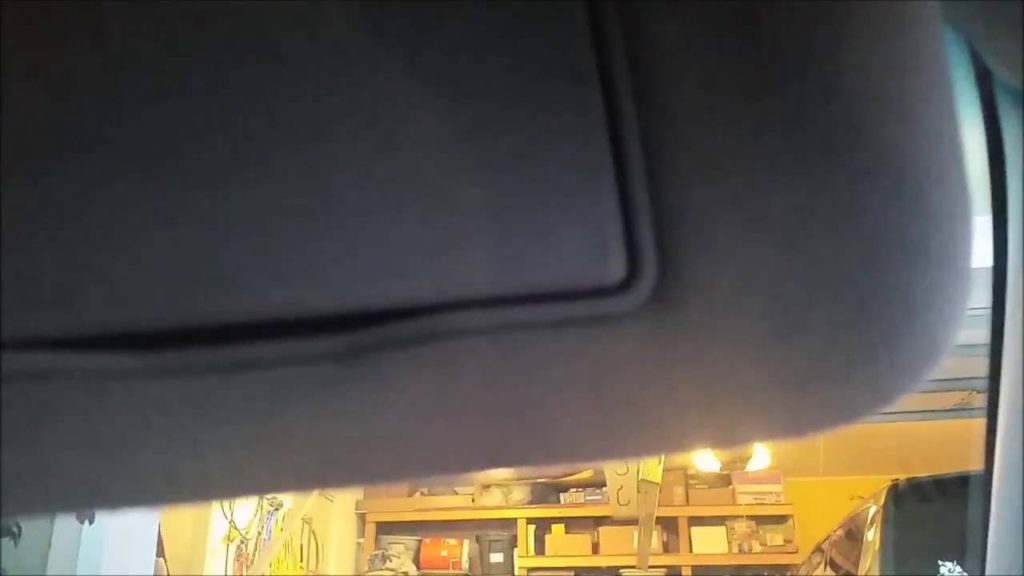
To fix a car visor that won’t stay up, first check if the metal clip holding it in place is broken or missing. If so, you can buy replacement clips at an auto parts store. Alternatively, you can secure the visor with duct tape.
Start by positioning the edge of the tape against outside surface of the visor and wrap it around towards its underside until it’s completely covered. To make sure that your repair job will hold up long-term, reinforce each wrap with another piece of tape going in opposite direction. You may also want to add additional pieces for extra support or use a thicker type of tape like Gorilla Tape to further strengthen your repair job.
Finally, test out whether your new setup works properly before driving off again with your repaired car visor!
- Check the arm of the visor: Visors are typically held in place by a thin metal arm that is connected to the ceiling of the car and also to one side of the visor itself
- If this arm has become detached or bent, it will not be able to hold up your visor properly
- Inspect both ends of this arm and make sure they are securely attached
- Secure any loose screws: On most cars, there will be two screws at either end of the visor’s arm which can become loose over time
- Tighten these with a screwdriver if necessary as this could be causing your problem
- Replace broken parts: In some cases, parts such as clips or levers may have come off completely from their mountings due to wear-and-tear or an accident – if you spot any missing pieces, try replacing them with spares from a DIY store or online retailer before attempting anything else
- 4
- Investigate further issues: If none of these steps have worked then your issue may lie elsewhere within your vehicle; check for frayed wires near where the visor connects into its housing (this could indicate an electrical fault) and inspect all other components around it thoroughly for damage – replace any broken/worn out pieces accordingly
Credit: www.reddit.com
How Do You Fix a Floppy Windshield Visor?
If you have a floppy windshield visor in your vehicle, there are several ways to fix it. The first step is to assess the issue and determine what kind of material the visor is made from. If it’s plastic, you can try using a hairdryer or heat gun on low heat setting to soften the plastic and reshape it into place.
You may need some type of clamping device like an adjustable wrench to hold it in place while heating up and reshaping the visor. Once cooled down, check if your problem has been fixed – if not, then you may need to replace the entire visor altogether. Alternatively, if your windshield visor is made out of metal or fabric material, use strong double-sided tape along with heavy duty glue (like epoxy) for extra holding power.
Start by removing any dirt or debris from both surfaces before applying either adhesive solution – this will help ensure that your repair job lasts longer instead of just temporarily fixing the issue at hand. Finally, allow 24 hours for glues/tapes to dry completely before attempting any further repairs or replacements as necessary!
Why is My Sun Visor Floppy?
The sun visor in your car can become floppy over time due to age, wear and tear, or even a manufacturing flaw. Sun visors are generally made of plastic which can break down with exposure to heat and UV rays from the sun. Additionally, if your vehicle has been in an accident before it could cause the mounting points for the visor to become loose or damaged.
Another possibility is that you may have accidentally broken the support rods inside of the visor when adjusting it during use; this would cause it to become floppy when adjusted up or down. If none of these appear to be causing your particular issue then it might be best to take your car into a mechanic for further diagnosis as there could potentially be other underlying problems causing this issue.
How Do You Fix a Car Visor Clip?
If you need to repair a broken car visor clip, it can be done fairly easily. First, gather the necessary supplies – some pliers, glue or epoxy and replacement clips if needed. Begin by examining the clip itself to determine which parts are damaged.
If any pieces of plastic have cracked off from the main body of the clip, they will need to be replaced with new ones. Then use your pliers to remove any screws that may be holding it in place so that you can access all of its components more easily. Now apply some glue or epoxy along the joints where cracks exist and then allow it time to dry before reattaching missing parts such as screws or other hardware pieces.
Lastly, test out your newly repaired visor clip by clipping it into place on one side of your vehicle’s interior dashboard and making sure that is securely held there without slipping out again!
How to Fix a Toyota Sun Visor?
If you’re looking to fix a Toyota sun visor, there are several steps you can take to ensure the job is done quickly and correctly. First, start by removing the panel near the headliner that covers your sun visor and loosen any screws or bolts that may be holding it in place. Next, remove the metal brackets from each side of the sun visor itself.
You will want to carefully note where each bracket was placed so you can easily reattach them after repair is complete. After this step has been completed, gently pull out your old sun visor and set aside for replacement with a new one if necessary. If replacing an existing unit, make sure to align all plastic parts before snapping into place using clips or other fasteners included with your new part.
Once everything is secure in its rightful location, reinstall all components back onto their original locations including panels covering headliner as well as metal brackets on both sides of the unit being replaced – doing so properly should give your vehicle’s interior an improved look while also providing much needed protection against harmful UV rays!
What is the Recall on Toyota Sun Visors?
When it comes to Toyota sun visors, the recall rate is pretty low. In fact, according to the National Highway Traffic Safety Administration (NHTSA), there have only been a few recalls on this particular item since 2003. The most recent was in 2009 and involved some 2005-2008 model year vehicles that had defective power window switches.
The NHTSA noted that these could lead to fires if not addressed properly, resulting in a large scale recall of nearly 2 million cars. While this may seem like a lot for one piece of equipment, it’s actually quite small compared with other vehicle parts and accessories. For example, airbags saw over 34 million recalled units between 2008 and 2018 alone!
This means that the overall safety record for Toyota sun visors is quite good considering how many are out on the road today – something car owners can take comfort in knowing when they drive their vehicles equipped with them.
How to Fix a Floppy Sun Visor that does not stay in place on Your Car for less than 25 Cents!
How to Fix Sun Visor With Binder Clips
One way to fix a sun visor with binder clips is to open and place the clip over the top of the visor, then close it. The clip should hold onto both ends securely and also keep the visor in place. Additionally, you can use multiple clips if needed for a better grip on thicker or longer sun visors.
This simple trick requires no tools and can help you get back on your way quickly!
Conclusion
Overall, car visors that won’t stay up are a common issue and can easily be repaired with some basic tools. With the help of this guide, you should now have all the information you need to get your visor working properly again in no time! So don’t let a broken car visor keep you from driving in comfort – just follow these steps and fix it yourself or take it to a professional.