To bench test a pcm, connect it to an obd-ii scanner and diagnostic tool. This will allow you to perform a comprehensive test of the pcm’s cpu, inputs, and outputs.
If you suspect that your vehicle’s pcm is malfunctioning or has failed, it’s important to bench test it to diagnose the issue accurately. Bench testing procedures will help you determine whether the pcm is faulty or if there is another issue with your vehicle. To bench test a pcm, you’ll need to follow a series of steps that involve connecting the pcm to an obd-ii scanner and diagnostic tool. This will allow you to perform a thorough test of the pcm’s cpu, inputs, and outputs, providing you with important diagnostic information to troubleshoot and fix your vehicle’s issues. In this article, we’ll discuss the step-by-step process for bench testing a pcm.

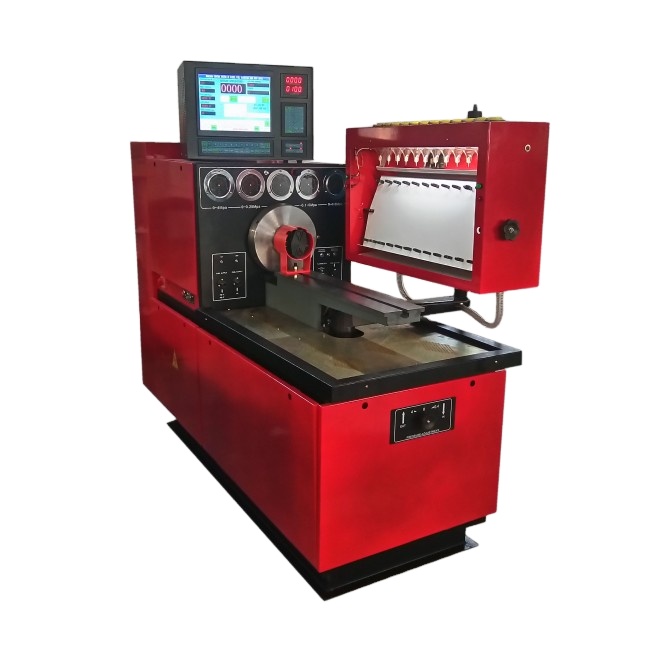
Credit: archimago.blogspot.com
Understanding Pcm And Its Significance
Pcm, or powertrain control module, is a crucial component in a vehicle’s functioning. It operates various systems, such as engine and transmission, to ensure proper performance. Bench testing a pcm is essential to diagnose any issues and ensure it’s working correctly.
To bench test a pcm, you need a multimeter and a bench harness adapter. First, remove the pcm from the vehicle, connect the adapter, and test voltage and ground connections. Then, perform output tests, check sensors and actuators, and compare results with manufacturer specifications.
Understanding the basics of bench testing a pcm is vital to maintain vehicle performance and prevent potential damages.
Preparing For Bench Testing
Bench testing a pcm unit can help in detecting errors and precisely identifying the source of the problem. Before starting, you need several tools and equipment. You will require an obd2 connector, a power source, a digital multimeter, and a socket set.
While disconnecting the pcm from the vehicle, ensure you first disconnect the battery’s negative cable. Also, when handling the computer module, wear rubber gloves as this will minimize the risk of electrostatic charge. These precautions will help you avoid damaging the pcm and keep you safe while working on the car.
PCM Bench Testing
Step-By-Step Process For Bench Testing A Pcm
Bench testing a pcm is a necessary process to diagnose and fix engine issues. Here is a step-by-step guide on how to perform a bench testing. Firstly, using a bench tester to diagnose the pcm is crucial. Next, checking the power supply of the pcm is equally important.
Also, testing the ground circuit of the pcm is necessary. Finally, interpreting the results obtained from bench testing is crucial for fixing engine issues. By following these steps, bench testing a pcm can be done easily and efficiently. Make sure to take note of the results in order to diagnose and fix engine issues accurately.
Common Issues Found During Bench Testing
Bench testing a pcm is an important diagnostic procedure in any car maintenance. But common issues can arise while doing it. Understanding the codes and error messages that may appear helps in identifying problems early on. Troubleshooting with techniques such as checking the power supply, ground connection, and continuity on thr pcm harness can reveal most issues.
However, if the problem is complex or requires the proficiency of a professional mechanic, it might be best to seek professional help. Keep in mind that reliable bench testing done in a professional workshop is time-saving and more cost-effective in the long run.
Benefits Of Bench Testing A Pcm
Bench testing a pcm (powertrain control module) has significant benefits. By diagnosing problems early, you can extend your vehicle’s lifespan. Regular maintenance and prompt repair solutions can avoid further damages. It is a cost-effective way to fix vehicle issues. It also avoids the cost of paying a technician for extensive car repair work.
Another advantage is the quick detection of issues before they become major problems. Bench testing makes it easy to identify and solve issues. Therefore, it is an essential process to keep your vehicle’s performance at its best. Overall, bench testing is a smart way to save both time and money.
Frequently Asked Questions For How To Bench Test A Pcm
How Do I Bench Test A Pcm?
To bench test a pcm, you’ll need a power source, a multimeter, and the pcm’s pinout diagram. Connect the power source to the appropriate pins, and use the multimeter to check the voltage readings.
What Are The Signs Of A Faulty Pcm?
Common signs of a faulty pcm include engine misfires, stalling, difficulty starting, and poor fuel economy. Other symptoms can include abnormal shifting in an automatic transmission and malfunctioning gauges.
Can A Bad Pcm Cause Transmission Problems?
Yes, a bad pcm can cause transmission problems. Transmission solenoids rely on the pcm to regulate their performance, and if the pcm is faulty, it can send incorrect signals to the transmission solenoids, causing shifting issues.
Conclusion
Bench testing a pcm is a crucial process if you want to ensure the proper functioning of your vehicle. By following the steps mentioned above, you can easily test the pcm and diagnose any issues with it. Remember, if your pcm isn’t working as it should, your vehicle’s performance will be affected as well.
So, it’s always a smart move to conduct a bench test to identify any irregularities. It’s recommended to get started with a visual inspection and clean all the connectors before finalizing the testing. Moreover, during the testing process, be sure to check all the sensor inputs, output voltages, and waveforms.
Once you have verified the pcm’s functionality, re-install it and perform a test drive to confirm everything is working properly. With proper attention and care, you can easily bench test your pcm and ensure your vehicle’s peak performance.